If you are attaching a domain name to your tool, it must be secured with SSL encryption. This means that it must be accessible via the https:// secure protocol since the DoWellWebTools system sends personal information back and fourth from the browser to the server.
This process requires a system administrator who has root access to the server that the DoWellWebTools are hosted on, as well as someone who has access to the registrar account where the domain is hosted. This processes is summarized as follows:
This whole process can take less than 10 minutes if you are using a chained certificate. This step-by-step document assumes you are using GoDaddy.com. I use them because I can a secured domain for about $15/year—perfect for creating my web empire.
GoDaddy is consistently offering online cupons for as much as 35% off, which really makes a big difference when you are spending a couple of hundred dollars on a multi-pack SSL. Google "godaddy coupons" and don't give up until you find one.
|
STEP
|
|
Order a UCC/SAN SSL |
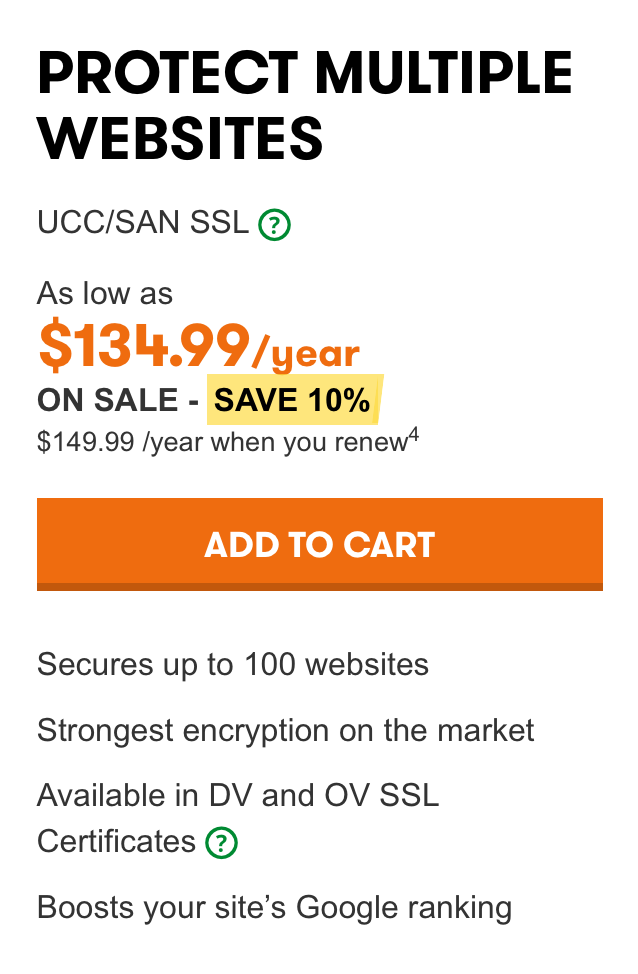 A Unified Communications Certificate (UCC) is an SSL that secures multiple domain names as well as multiple host names within a domain name. A UCC SSL lets you secure a primary domain name and up to 99 additional Subject Alternative Names (SANs) with a single SSL. For example you can use a UCC to protect www.domains1.com, www.domains2.net and www.domains3.org.
|
STEP
|
|
Install the Main SSL |
Follow the GoDaddy.com instructions for installing the main SSL and securing your first domain. The rest of this document covers how to set up additional domains after your first one. For the first domain, after you follow the GoDaddy instructions, pick up at step 5 to attach the domain to the DoWellWebTools tool.
|
STEP
|
|
Add the Additional Domain to the Chained Certificate and Install |
|
STEP
|
|
Ask Us To Update /etc/rc.d/rc.local |
DoWellWebTools reads the allowed domains from the rc.local file. Before making the domain live in the tool, we need to update this file with a strict format:
# www.your-new-domain.com xx.xx.x.xx xx.xxx.xxx.xx www.master-domain-on-cert.com
This has the following five parts separated by a single space:
Once this file is updated, we restart the web server.
/etc/init.d/httpd restart
|
STEP
|
|
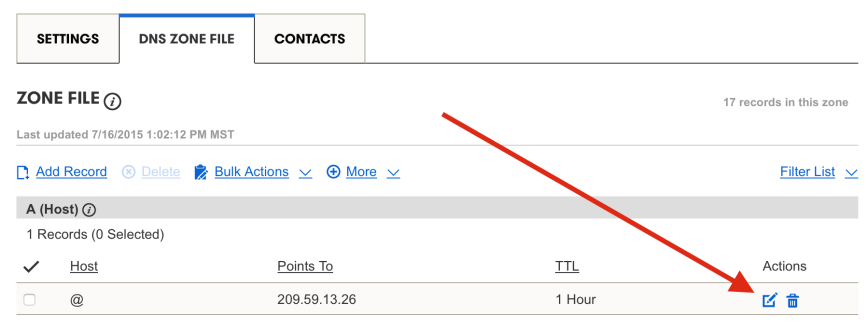
Change the IP Address of the Domain with the Registrar |
Now you need to update the DNS settings so the registrar (in our case, GoDaddy) knows where to point the domain.
At this point, the domain should immediatly start pointing to the server.
|
STEP
|
|
Update Your Tool(s) |
Now it's time to use the web browser, navigate to your tool that will be using this new domain, and update the tool with the domain.

Once you change the domain, you may need to reload your page (shift and refresh) or restart your web browser. You will be logged off and you will need to log on again, because the logon is associated with a domain.