YourWebEmpire.com is ideal for starting your own Web Hosting business. The software is perfect for allowing users access to web-based hosting with tools and features that they cannot get anywhere else. You define the packages and you set the price. Best of all, you keep 100% (we just want our standard monthly fee).
The following instructions detail how you go about setting up your own web hosting business using this platform. It is assumed that you have thought about your company name, the market, logo, colors, etc. This document walks you through mostly the technical setup of the system.
It is suggested that you print this document and use it as a checklist when setting up your webhost. If anything is unclear or any steps missing, please enter your comments in the comment section below on this page.
|
STEP
|
|
Get Your YourWebEmpire.com Account and Hosting Domain |
If you are not already setup with your own account, follow the instructions at
https://www.yourwebempire.com/tools/lp/empires/22/How_To_Build_Your_Web_Empire_An_Overview
You should have access to YourWebEmpire.com account, and you should at least reserve your domain name and start the process of securing it (the domain does not have to be active at this point—but it does save you a little work).
|
STEP
|
|
Create Your Images |
Once you have your web hosting business name and domain name (sometimes they are the same), you are ready to create the site images needed for the configuration section. This includes the following:
We suggest using DepositPhotos.com to find attractive, professional images for your website art. Remember, if you don't have an eye for design, or you don't want to deal with this part of it, we are happy to do it for you.
|
STEP
|
|
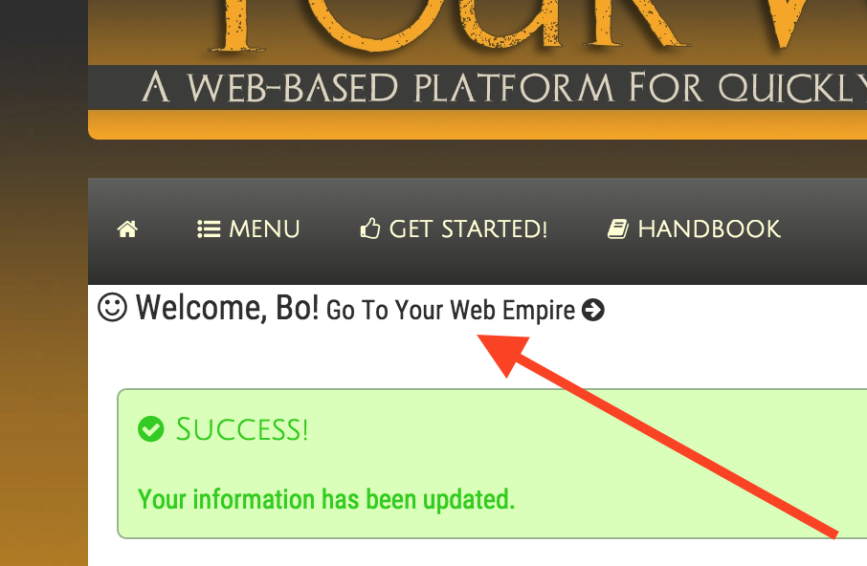
Login To Your New Account |
To login (assuming your first time with this account):
|
STEP
|
|
Configure Your Relationship Manager |
Go through the configurations in your Relationship Manager tool. If you are unsure about any of the items below, visit https://www.yourwebempire.com/tools/lp/empires/5/Tool_Configuration for more details on each sub step.
In this step, we are not going though all of the settings; just the initial ones. We will be back several times.
Click the "master setting" checkbox for all of the configurations in which you want to carry over to all the tools. You will probably want to do this for all of the setting that have the master setting option.
|
STEP
|
|
Customize Your Theme |
Now go back to the configure section and customize our theme so it matches our header image. For details on how to do this, see https://www.yourwebempire.com/tools/lp/empires/15/How_To_Create_Your_Own_Color_Theme . When done, click the "Configure" button at the bottom of the page. Repeat this step until your theme is just the way you want it, including the fonts.
|
STEP
|
|
Move Over Your Domain |
Assuming your secure domain name is ready, you now enter it into your Relationship Manager "Configure" section, for the field "Custom Secure Domain Name". Make sure you enter the leading "www" (or other subdomain) and do not type the "https://". Also, do NOT check the landing page box - your landing page will be the custom webpage tool. If you entered the domain incorrectly, or of the domain is not yet ready to be moved to our server, you will get an error.

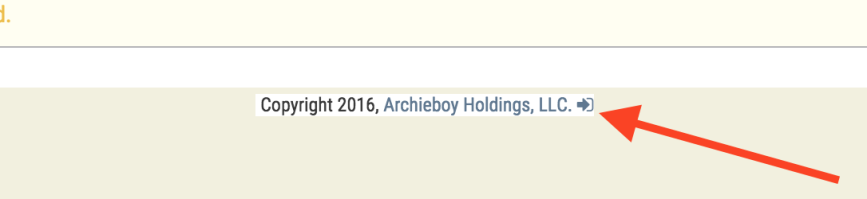
Click the "Configure" button at the bottom of the page. The screen will refresh still using the main domain name, so you will need to login again for your new domain. To do this, go to your "Tools" menu and select "Relationship Manager". You will get an access denied message (because you are not logged in for the new domain). Login by clicking on the login icon in the footer.
|
STEP
|
|
Activate Your Other Tools |
Now that your Relationship Manager is configured, you can activate your tools that you will be using for your web hosting site and those tools will be automatically configured with the settings from your Relationship Manager. In this document, we will cover the setup the essential tools in the list below. You can always setup any others either now or later.
To activate the tools:
|
STEP
|
|
Configure Your Relationship Manager |
Click "Tools" > "Relationship Manager" > "Configure". In this step, we will configure the necessary information. You can always go back and fill in more details. But for now...
Under "Tool Setup", set your e-mail address, organization name, and time zone.
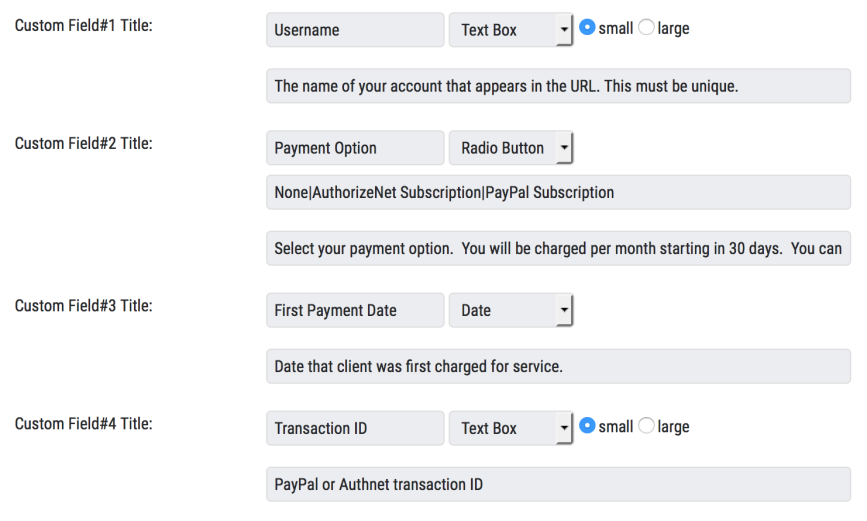
Under "Custom Fields", we need to enter the 4 require custom fields for web hosting. Be sure to type the filed names correctly, select the right data type, and enter the options.
Field 1 Name: Username
Field 1 Data Type: Text Box
Field 1 Option: small
Field 1 Description: The name of your account that appears in the URL. This must be unique.
Field 2 Name: Payment Option
Field 2 Data Type: Radio Button
Field 2 Option: None|AuthorizeNet Subscription|PayPal Subscription
Field 2 Description: Select your payment option.  You will be charged per month starting in 30 days.  You can cancel at any time.
Field 3 Name: First Payment Date
Field 3 Data Type: Date
Field 3 Option: none
Field 3 Description: Date that client was first charged for service.
Field 4 Name: Transaction ID
Field 4 Data Type: Text Box
Field 4 Option: small
Field 4 Description: PayPal or Authnet transaction ID
Note: If you are not accepting both AuthorizeNet charges and PayPal, remove the mentions of the one you are not accepting for payment in fields 2 and 4.
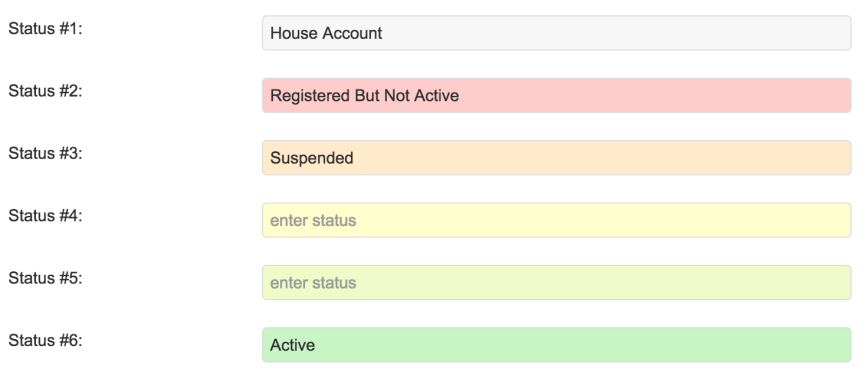
Under "Custom Status'", enter the following status' in the corresponding fields. You can add more now or later, but these are required and they are required in those exact positions.
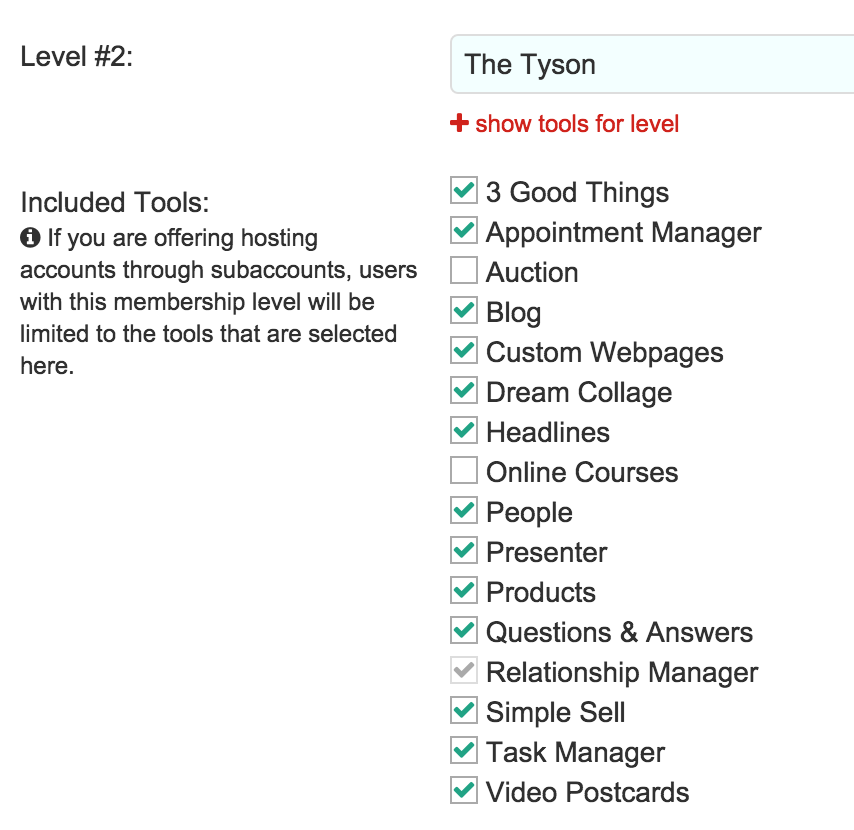
Under "Membership Levels", create your membership levels and select the tools for each level. You can have up to ten levels. Just make sure that the levels are in order from lowest cost/ fewest options, to the most expensive / most options.
Enter host specific tool information and example websites that are ideally unique to your audience. If you don't enter anything there, the default descriptions and examples will be used, but it is ideal if you can customize these for your audience as much as possible.
At this point, go to the bottom of the page and click the "Configure" button to save your work. Then, click "Configure" in the menu to return.
Create your e-mail lists. At this point, I would at least create one list called "Updates" or something similar. You can always add other lists later. Enter your complete physical office address.
In the "Open Registration" section, all we need to do for now is 1) check the box to allow public registration, 2) check to allow photo upload, 3) Click the option to generate terms and conditions, and 4) only check "Username" for the fields you want to appear on the registration form.
Click the "Configure" button at the bottom of the page.
|
STEP
|
|
Create The Default Webpages |
Go to "Tools" > "Custom Webpages" then click the "Page Editor" button in the main menu. There are a few pages that you should create right away. These are
It is a good idea to create these now, because in the next step, we create the homepage and this where we link to many of these pages. If you are unsure how to create a page, see https://www.yourwebempire.com/tools/lp/empires/17/How_To_Use_The_HTML_Editor . Note that you will not be able to link any order buttons at this time.
|
STEP
|
|
Configure Your Custom Webpage Tool |
Go to "Tools" > "Custom Webpages" then click the "Configure" button in the top menu to start the configuration. In this step, we will configure the necessary information. You can always go back and fill in more details. But for now...
Under "Public Access", check "allow anyone access" (assuming nobody is trying to access this domain currently, otherwise you can check this when you are ready to launch)
Under "Custom Header Image, Domain, Theme, and Menu, check "This tool will be the landing page for this domain" by the secure domain name. We want users to be directed to this tool when they enter just the domain name.
Under "Website Information", enter your website title. Something such as "My Web Host: Hosting sites since 2016".
Under "Website Information", enter your website description. Something brief but that sells your web host.
This next step assumes that you are using the default template for the web hosting site. Of course, you are free to design your own page, but this one may be a good start. You can always modify it later.
Under "Website Information", click on the component viewer, and scroll down until you see the web hosting template (indicated by the hand image that reads "The Website Specifically for Authors"). Click on that template to insert it. Now customize it using the images you created in step 2, and change the text where appropriate. Notice the placeholders: { level1tools},{ level2tools}, etc. These placeholders list all the package details. Note that you will not be able to link any order buttons at this time.
Under "Tool Setup", go through each option in that section.
Click the "Configure" button at the bottom of the page.
|
STEP
|
|
Configure the Questions and Answers Tool |
Go to "Tools" > "Questions & Answers" > "Configure". This covers the basics, but you are free to go through more of the sections.
Under "Public Access", check "allow anyone access".
Customize the information under "Website Information".
Customize the information under "Tool Setup".
Customize the information under "E-mail Digest".
Click the "Configure" button at the bottom of the page.
|
STEP
|
|
Configure the Simple Sell Tool |
Go to "Tools" > "Simple Sell" > "Configure". This covers the basics, but you are free to go through more of the sections.
Under "Public Access", check "allow anyone access".
Customize the information under "Tool Setup". Be sure to check the "Use Discount Codes".
Add your Payment Processor Information (but do not use PayPal if using subscriptions)
Click the "Configure" button at the bottom of the page.
|
STEP
|
|
Enter In Your Products (Packages) In Simple Sell |
Go to "Tools" > "Simple Sell". In this step, we will create the three basic web hosting packages, three with setup service, and two discount packages for the higher two products. This step assumes you are billing monthly.
Enter the first package as a product.
enter the product name
check "This product is a subscription"
for the "More URL" you might want to enter your compare packages page
for "Price Per Cycle" enter the price of the package
for "Total Occurences" enter "9999"
select "Active" for "Subscription Status Change"
select the package for "Subscription Membership Level Change"